Earlier this month we ran a gravestone repair workshop with HeritageNL, at the historic cemetery in the Cape Broyle. Just like our first workshop earlier this summer, we had a wonderful turnout and everyone really put in their all! We had 18 participants in this workshop and 26 in the earlier gravestone cleaning workshop. Today’s blog post will be about the repair workshop, and we are so proud of all the hard work everyone put in to restore the four gravestones that we worked on that day!
All images in this blog post were taken by Black Cat Cemetery Preservation, unless otherwise noted.
We started the day with a little walk about the cemetery to chat about different types of gravestones present at the site, look at different types of stone and what they mean for cleaning and conservation practices, and look at some examples of earlier restoration that today we’d consider to be bad for the gravestone in the long run (aka anything with concrete). Then we headed to our working area, near the centre of the site! Thank you to the families for their permission to work on the headstones selected for the workshop.
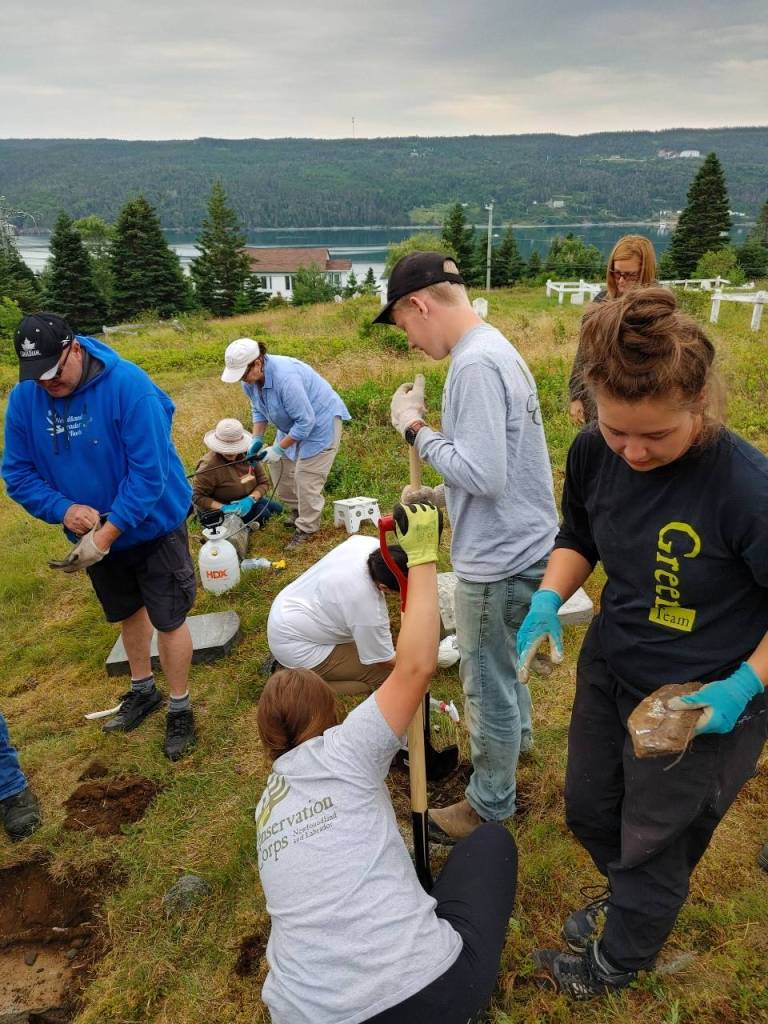
The Green Team joined us for the workshop 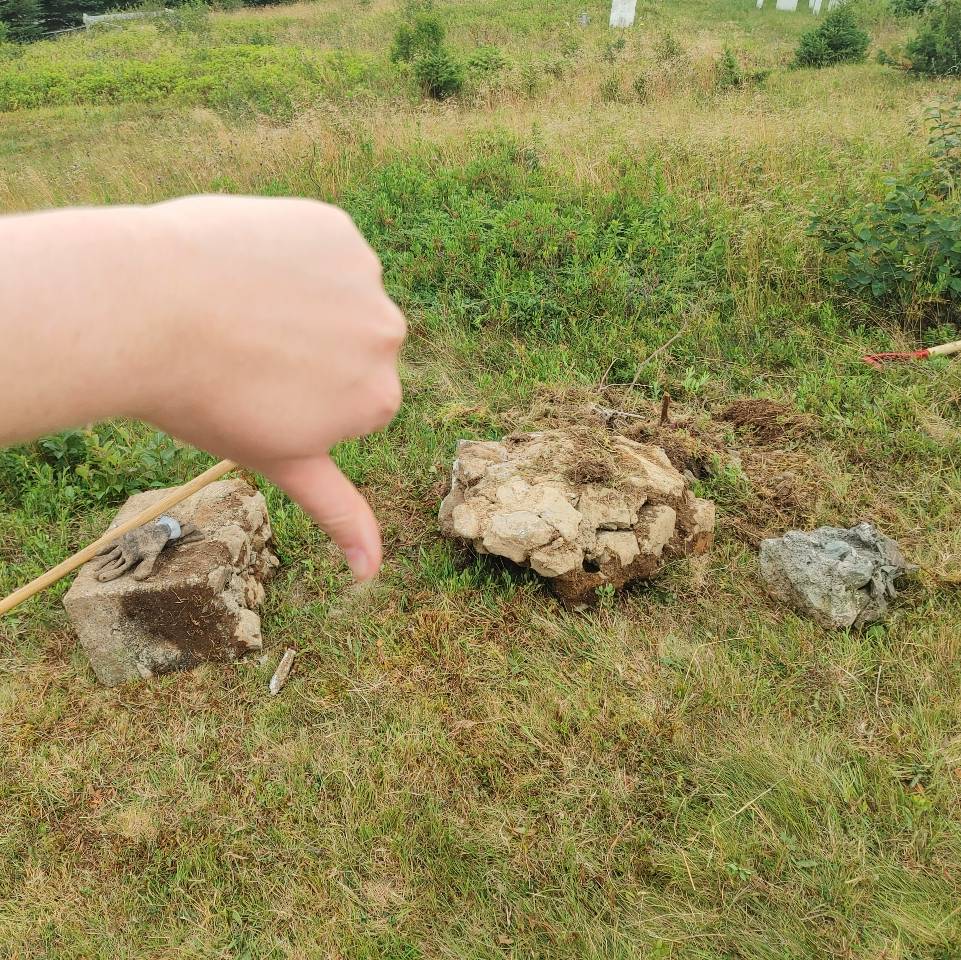
Giant concrete foundations are terrible! 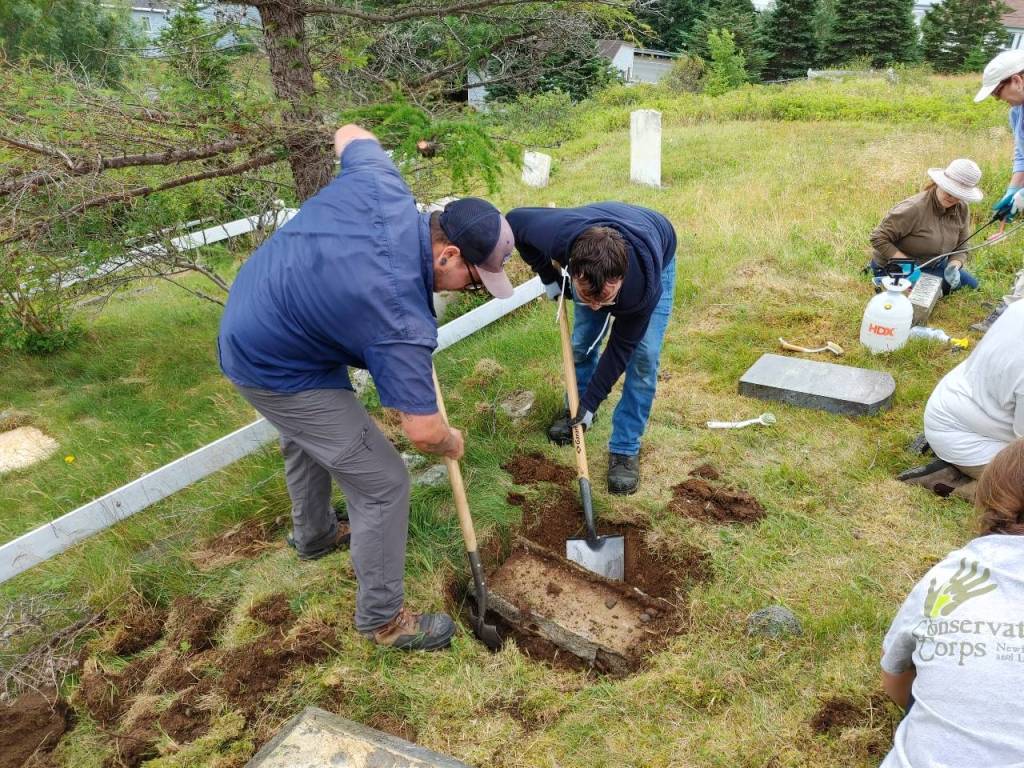
Ian and one of our workshop participants removing a concrete base from the ground.
The first step was to dismantle the stones that we were planning to restore that day. This was an extremely long process, because all of these gravestones were set on a foundation of concrete below the surface. This is a huge issue that happened/happens a lot, because the weight of the concrete will cause it to start sinking quite quickly, or tilting, which causes the gravestones to eventually slide off their bases and fall apart, which is what we were dealing with. Digging out the concrete took ages, but was worth it so that we could replace it with a ‘re-enforced soil system’, a monument grid system. We used Monugrid, a Canadian company!
The grid has to be larger than the base of the monument, in order to spread out the weight. The grid acts as a snowshoe for the monument, and allows drainage and flexibility in the foundation. We dug out a new foundation hole, and packed it with layers of limestone screening for stability, ensuring each few inches were level as we went. We then placed the grid at ground level, and packed it with more limestone screening, and replaced the bottom layer of the monument on its new foundation. Next, we used a UV stable stone epoxy in small dots to reattach the other sections of the monument, with spacers to ensure the next piece was sitting on a level area.
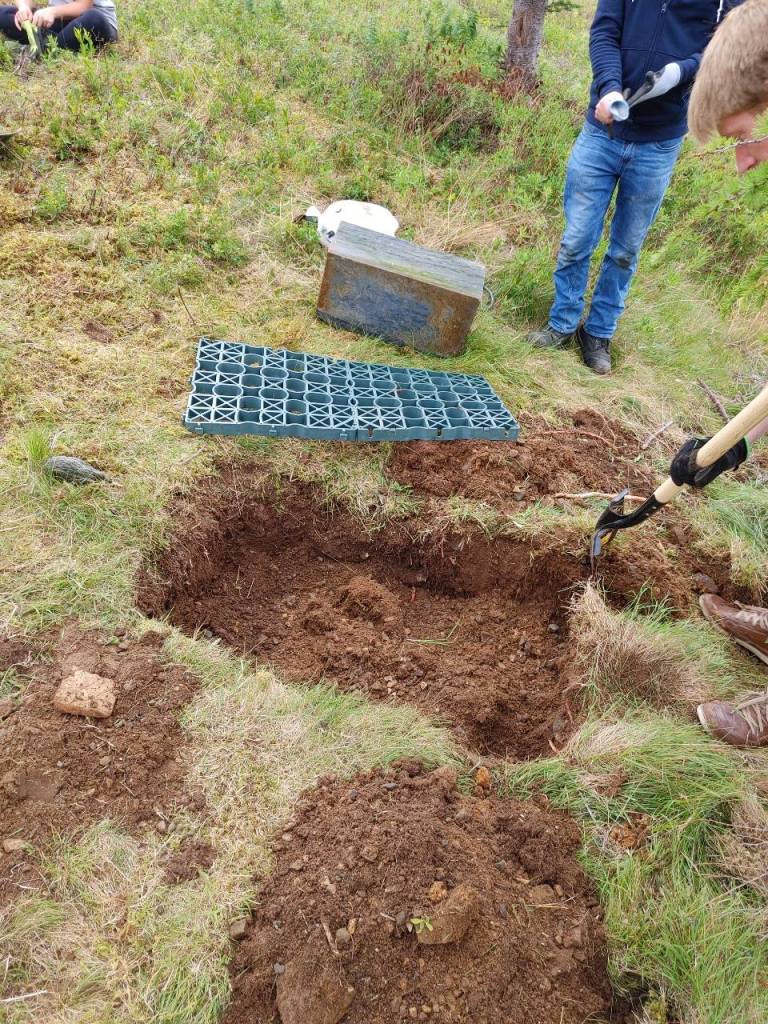
Excavating the hole for the new foundation 
Robyn checking the level of the limestone screening. Photo by Heritage NL 
Grid system in place!
And viola, the headstone was reset! We cleaned each of the gravestones before putting them back together, and let them dry before doing any of the reconstructions. Three of the gravestones were reset using monument grid to replace the concrete foundation, but we ended up only using limestone screening under the marble gravestone. This was because the gravestone was leaning at such a significant angle that stress lines in the marble were visible in the back of the stone and we were concerned of the damage that could be caused by trying to remove it from the attached concrete in which it was set, so we used screening underneath the stone carefully for resetting.
Below are the before-and-after photos of the restorations we undertook during the workshop. Thank you again to HeritageNL for organising the workshop, and all of our participants! It was a great day and the cemetery looks even better for it! And a huge thank you to the Conservation Corps. Green Team, you were a huge help and we loved having you join the team for the day!
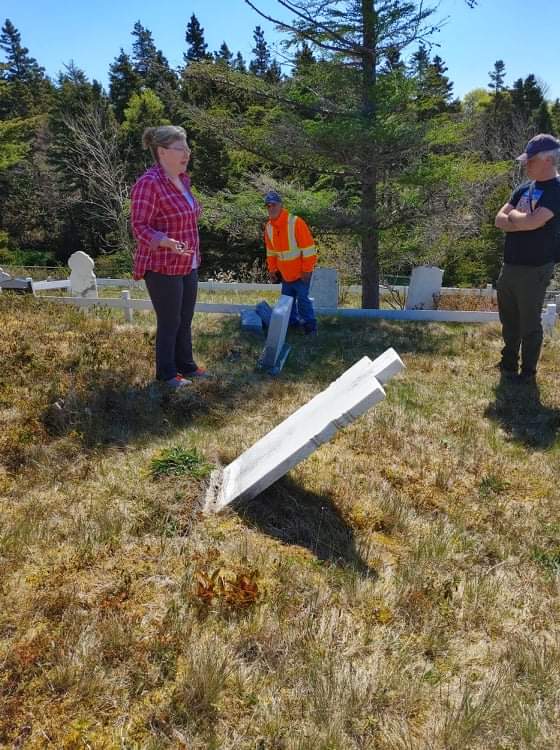
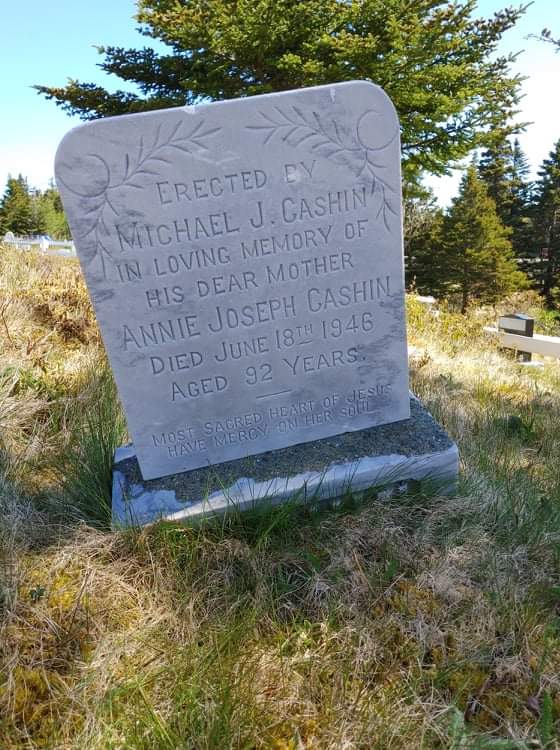
Anne Cashin’s gravestone, before restoration 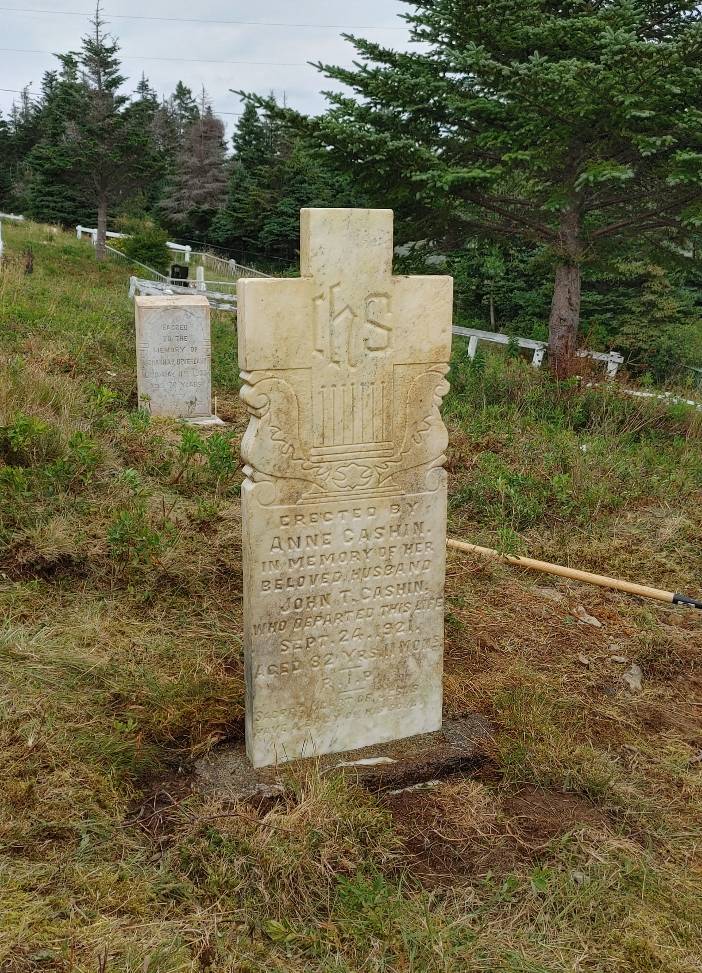
After the restoration!
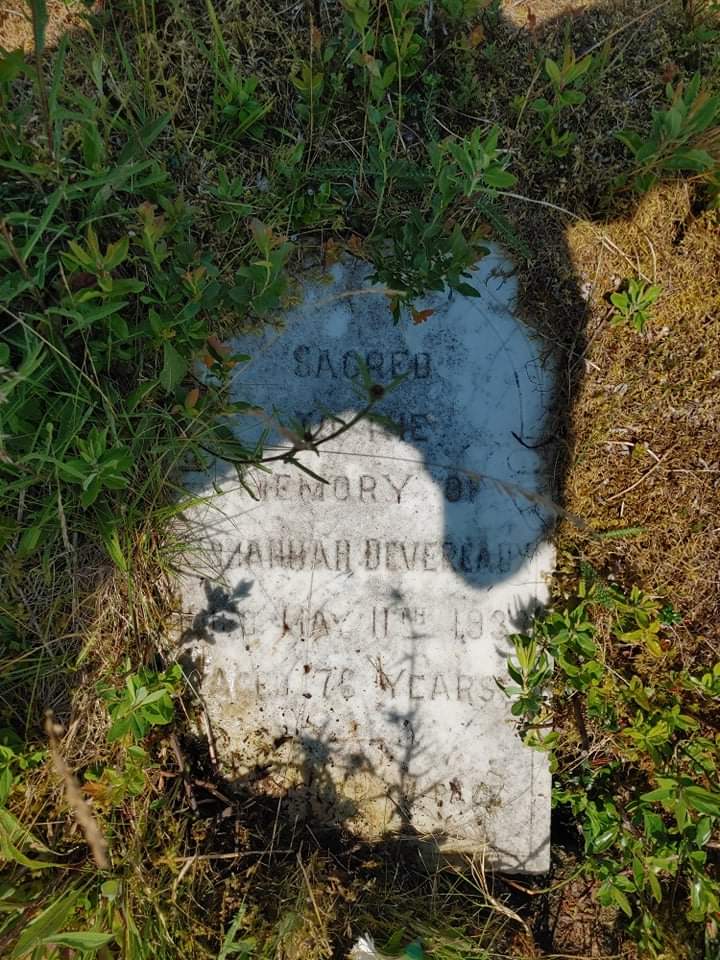
Johannah’s gravestone before restoration 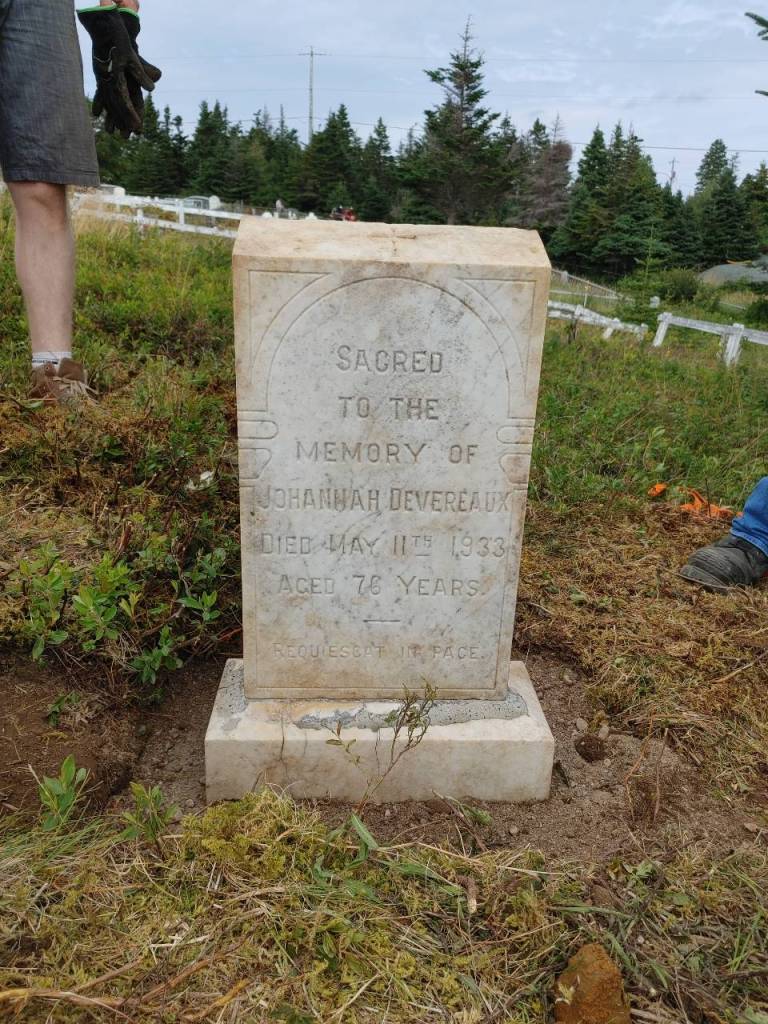
After restoration!
Michael Cashin’s gravestone before restoration 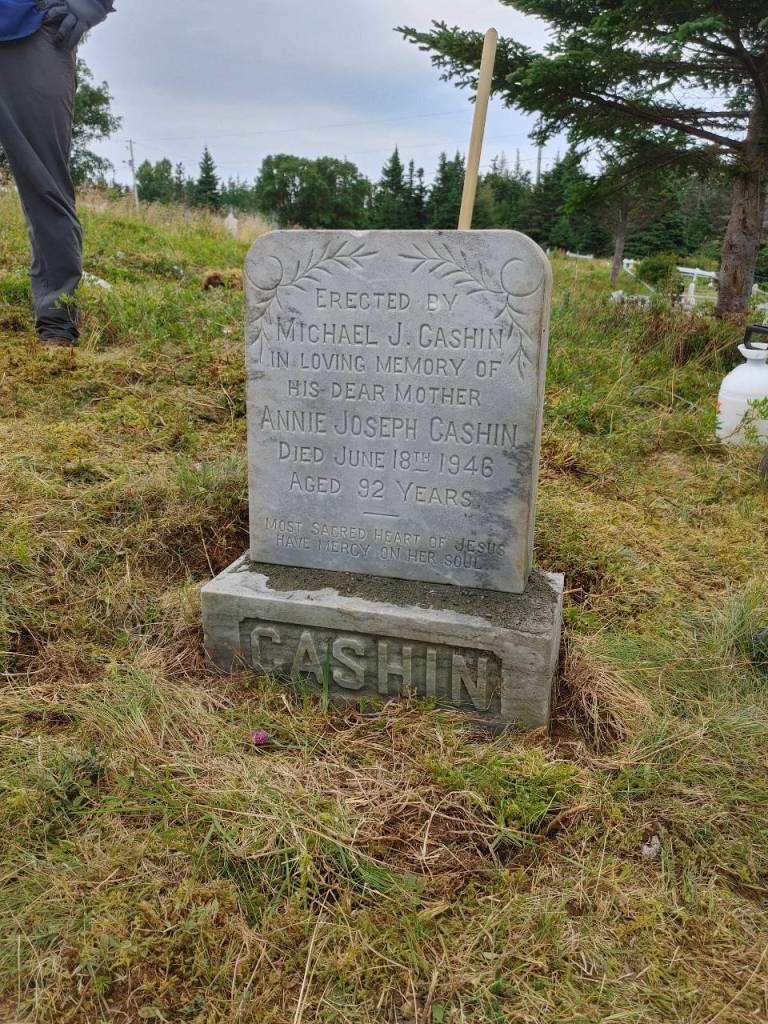
after restoration!
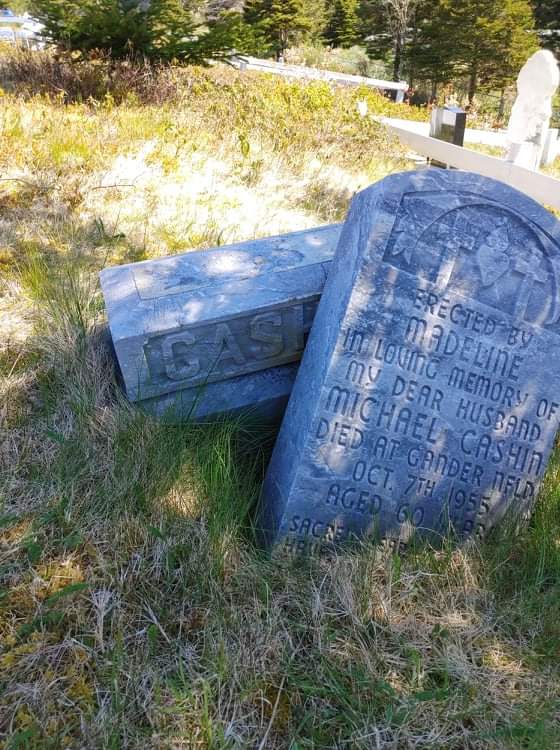
Michael’s gravestone before restoration. 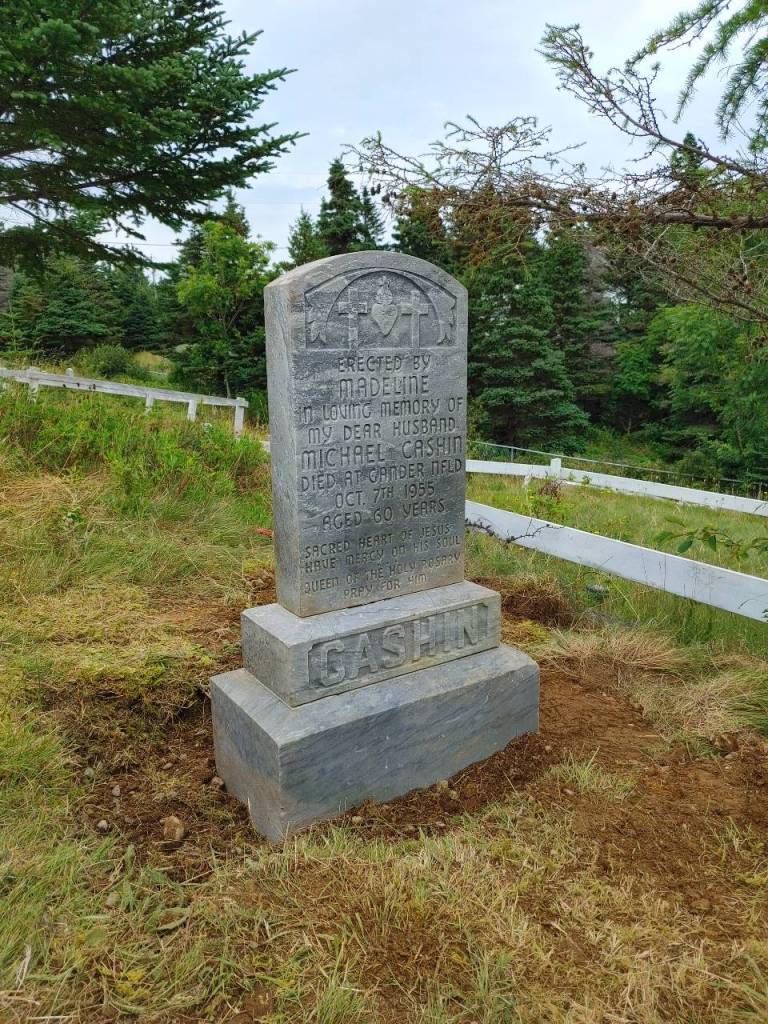
and after restoration!
